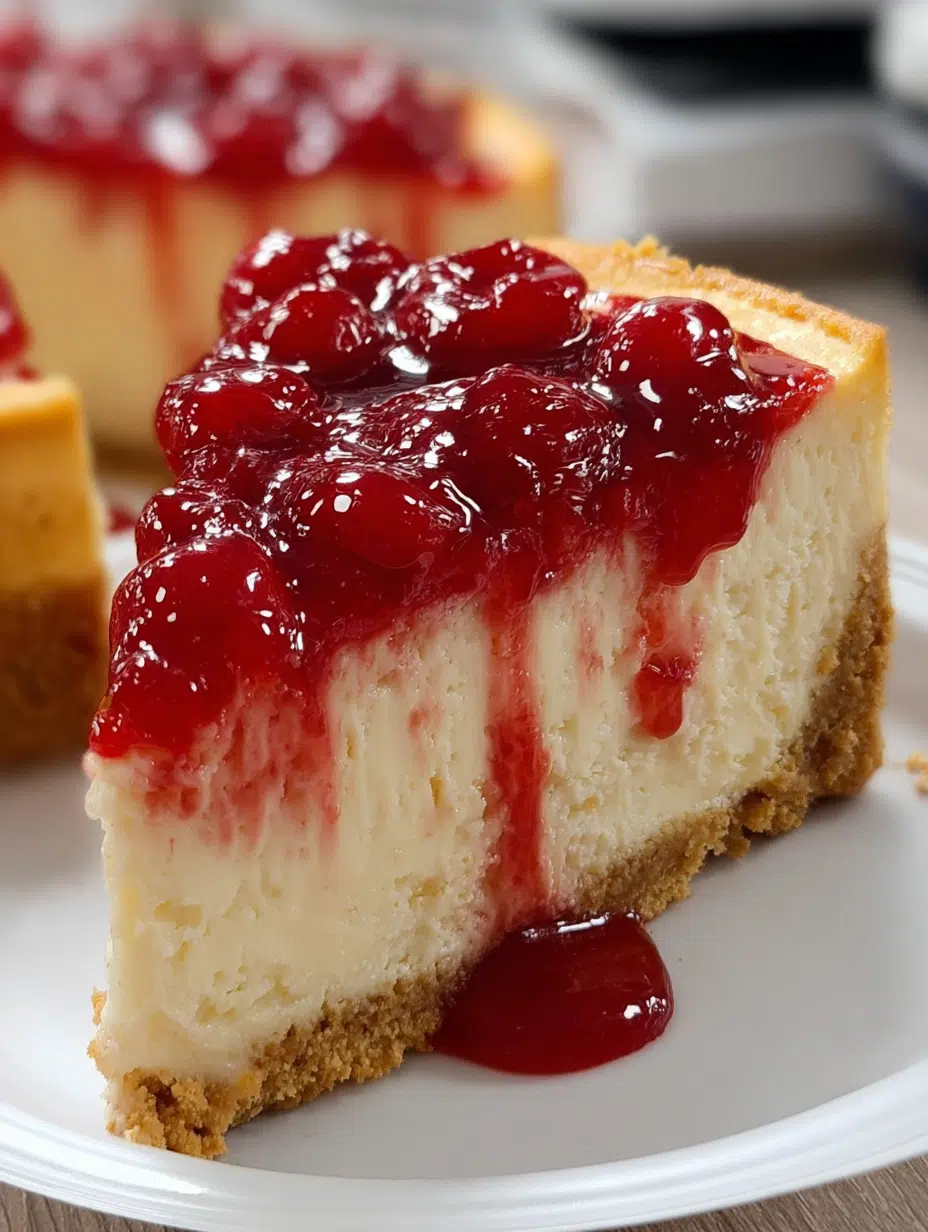
Ingredients for Classic Cherry Cheesecake
Gathering the right ingredients is the first step to creating a delicious Classic Cherry Cheesecake. Here’s what you’ll need:
- Graham cracker crumbs: These form the buttery crust. You can crush whole graham crackers if you prefer a fresher taste.
- Granulated sugar: This sweetens both the crust and the filling, balancing the flavors beautifully.
- Unsalted butter: Melted butter binds the crust together, giving it that rich, decadent flavor.
- Cream cheese: The star of the show! Softened cream cheese creates that creamy, dreamy filling we all love.
- Sour cream: This adds a tangy richness that elevates the cheesecake’s flavor profile.
- Eggs: They provide structure and help the cheesecake set perfectly.
- Vanilla extract: A splash of vanilla enhances the overall flavor, making it even more delightful.
- All-purpose flour (optional): Adding a bit of flour can help stabilize the filling, but it’s not necessary.
- Cherry pie filling: This sweet topping is what makes the cheesecake pop! You can use homemade or store-bought for convenience.
For exact measurements, check the bottom of the article where you can find everything listed for easy printing. Happy baking!
How to Make Classic Cherry Cheesecake
Now that you have all your ingredients ready, let’s dive into the delightful process of making this Classic Cherry Cheesecake. Each step is simple, and I promise, the end result will be worth every minute spent in the kitchen!
Step 1: Preheat the Oven
First things first, preheat your oven to 325°F (160°C). Preheating is crucial because it ensures that your cheesecake bakes evenly. A hot oven helps set the filling just right, giving you that creamy texture we all crave.
Step 2: Prepare the Crust
In a mixing bowl, combine the graham cracker crumbs, sugar, and melted butter. Stir until the mixture resembles wet sand. This is where the magic begins! Press the mixture firmly into the bottom of a 9-inch springform pan. Make sure it’s packed tightly; this will give you a sturdy base for your cheesecake.
Step 3: Bake the Crust
Pop the crust into the preheated oven and bake for about 10 minutes. You’ll know it’s ready when it’s lightly golden and fragrant. This step is essential for achieving that perfect crunch that contrasts beautifully with the creamy filling.
Step 4: Make the Cheesecake Filling
While the crust cools, let’s whip up the filling! In a large bowl, beat the softened cream cheese until it’s smooth and creamy. Gradually add in the sugar, mixing well. Then, add the eggs one at a time, ensuring each is fully incorporated before adding the next. Stir in the sour cream, vanilla extract, and optional flour. This mixture should be velvety and luscious!
Step 5: Pour and Bake
Now, pour the cheesecake filling over your cooled crust. Spread it evenly with a spatula. Place the cheesecake on the middle rack of the oven and bake for 50 to 55 minutes. The edges should be set, but the center will still jiggle slightly. This is the sweet spot for a creamy cheesecake!
Step 6: Cooling Process
Once baked, turn off the oven and crack the door open. Let the cheesecake cool in the oven for about an hour. This gentle cooling helps prevent cracks. After that, transfer it to the fridge and chill for at least 4 hours, or overnight if you can wait. Trust me, the flavors deepen beautifully!
Step 7: Add Cherry Topping
Finally, just before serving, spoon the cherry pie filling over the chilled cheesecake. You can be generous here! The vibrant red cherries add a pop of color and sweetness that makes this Classic Cherry Cheesecake truly irresistible.
